【定期】12/06 Firebaseを触ってみる会
スパルタコースでは毎週何かしらのイベントを開催しています。
今回のFirebaseのFirestoreを触ってる会です。
動画
【超初級編】Firebaseに触れる | TechEssentials
資料
Firebaseの設定
ここにアクセス
https://console.firebase.google.com/u/0/?hl=ja
「プロジェクトを追加」

プロジェクト名はお好きに。
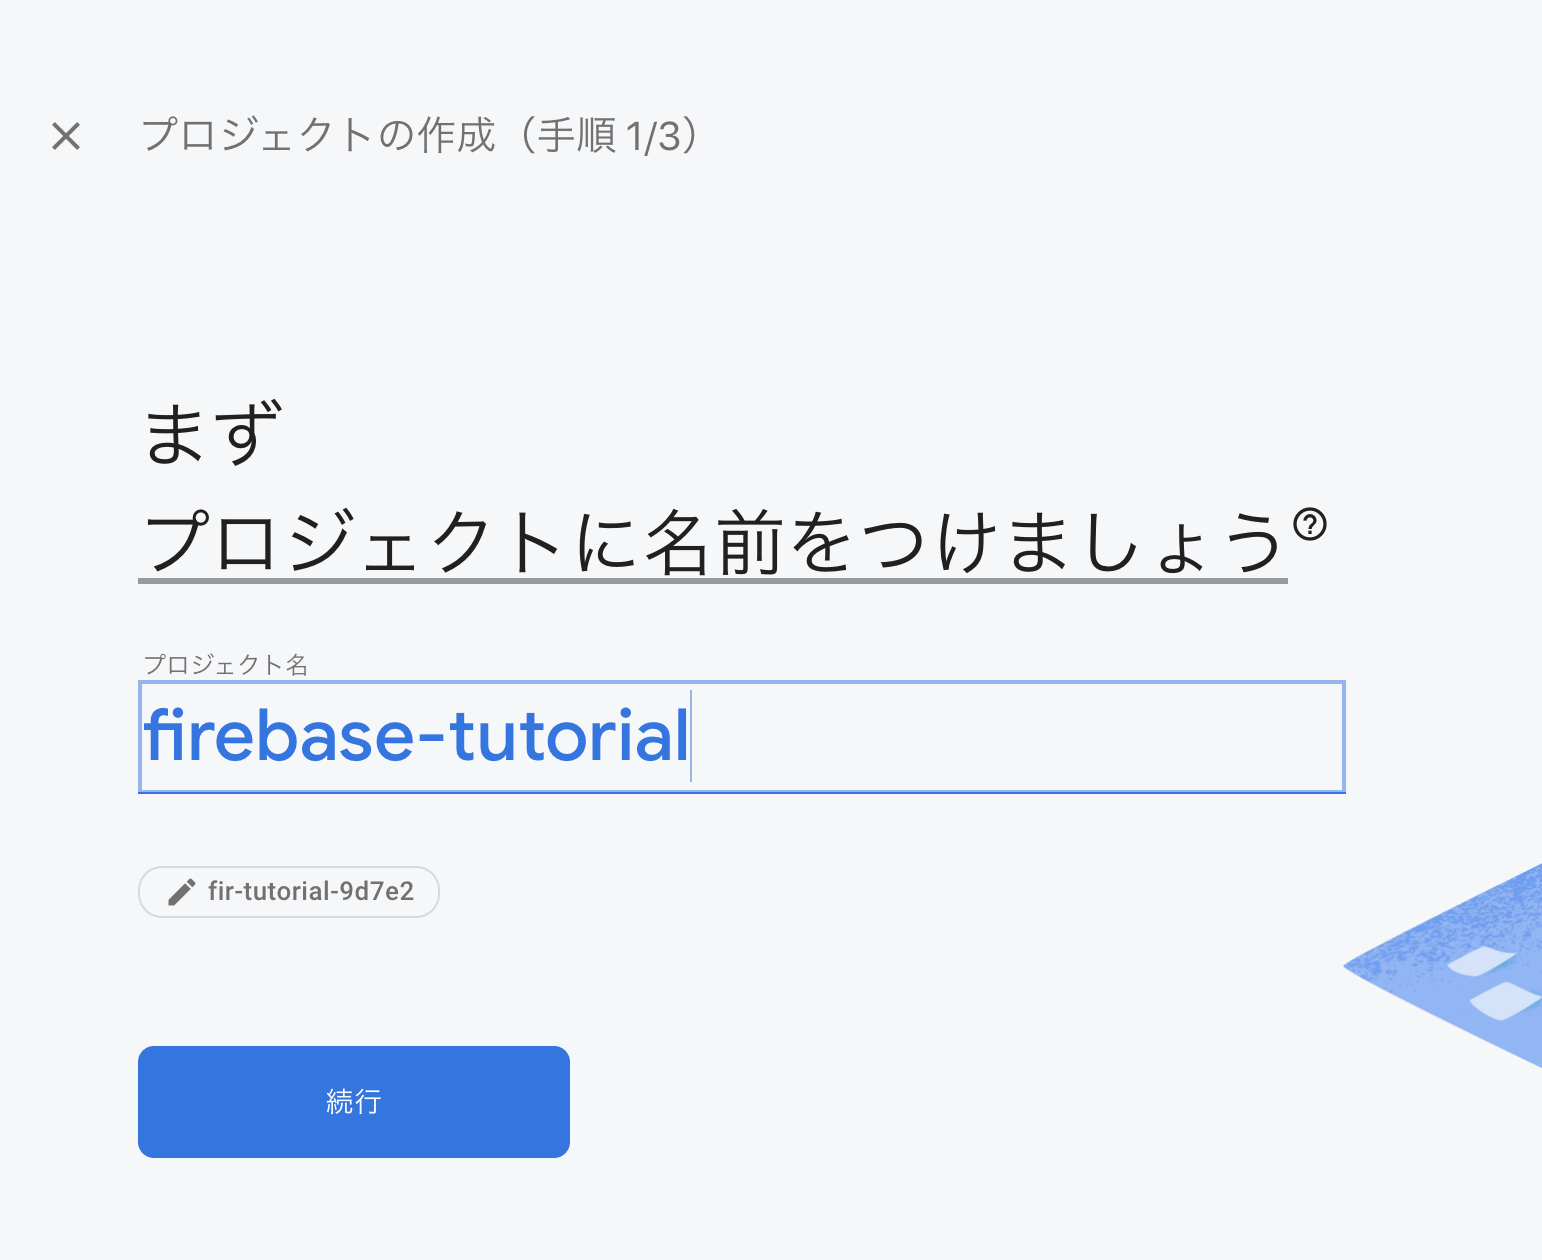
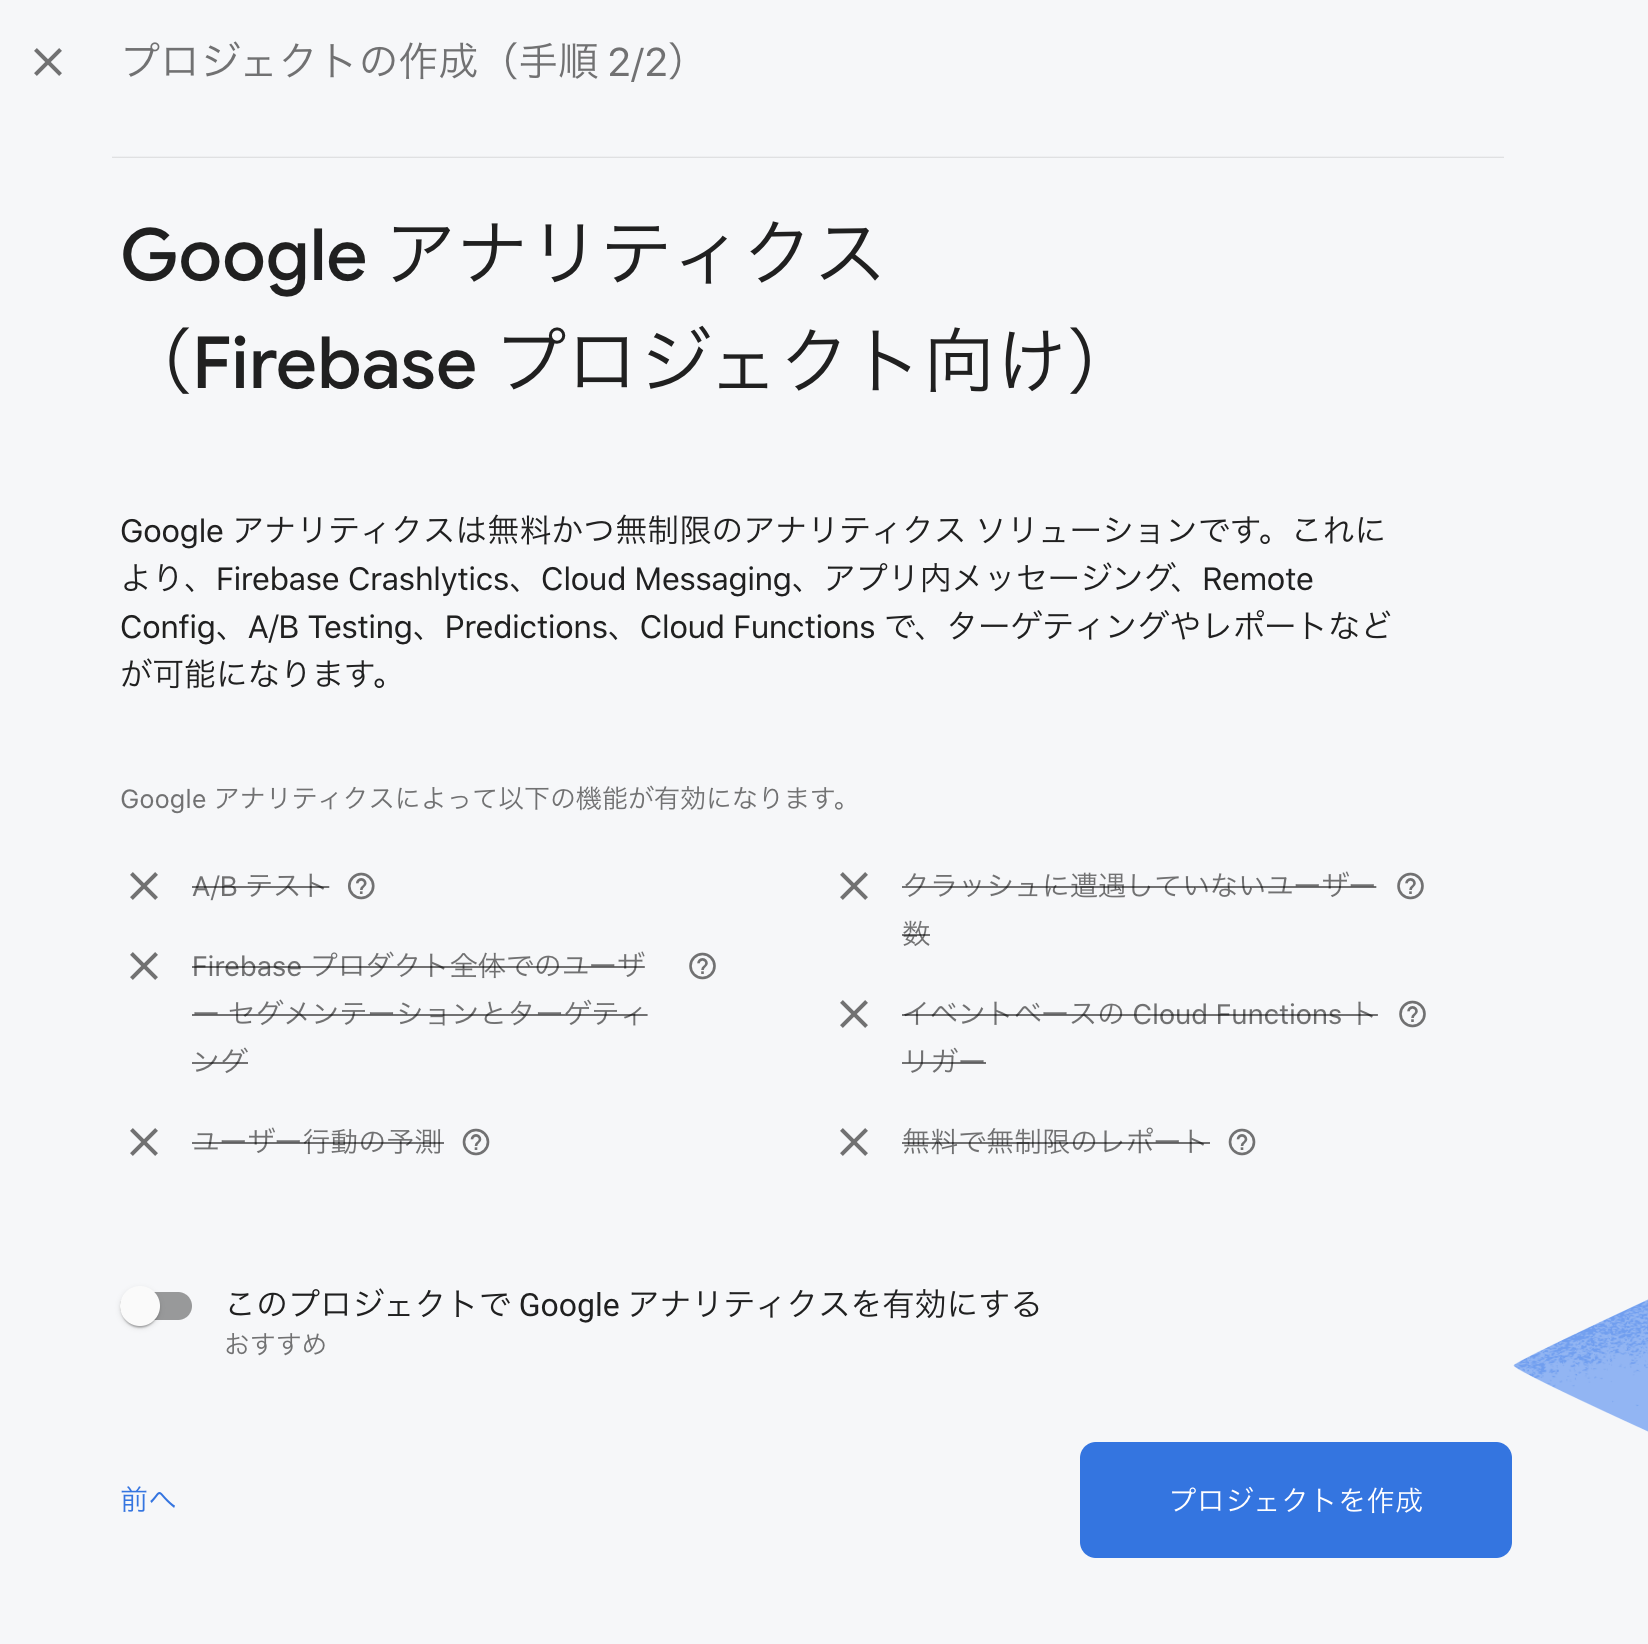
GAは今回は設定しなくてOK。
ダッシュボードに遷移するはず。
とりあえず抑えておくこと
- FirebaseとはBaaS(backend as a searvice)の一種
- いろんなサービスがある
- Authentication → 認証
- FireStore → データベース
- Storage → ストレージ
- Functions → AWSでいうLambda的なもの
- Hosting → ホスティングサービス

事前準備をしましょう。
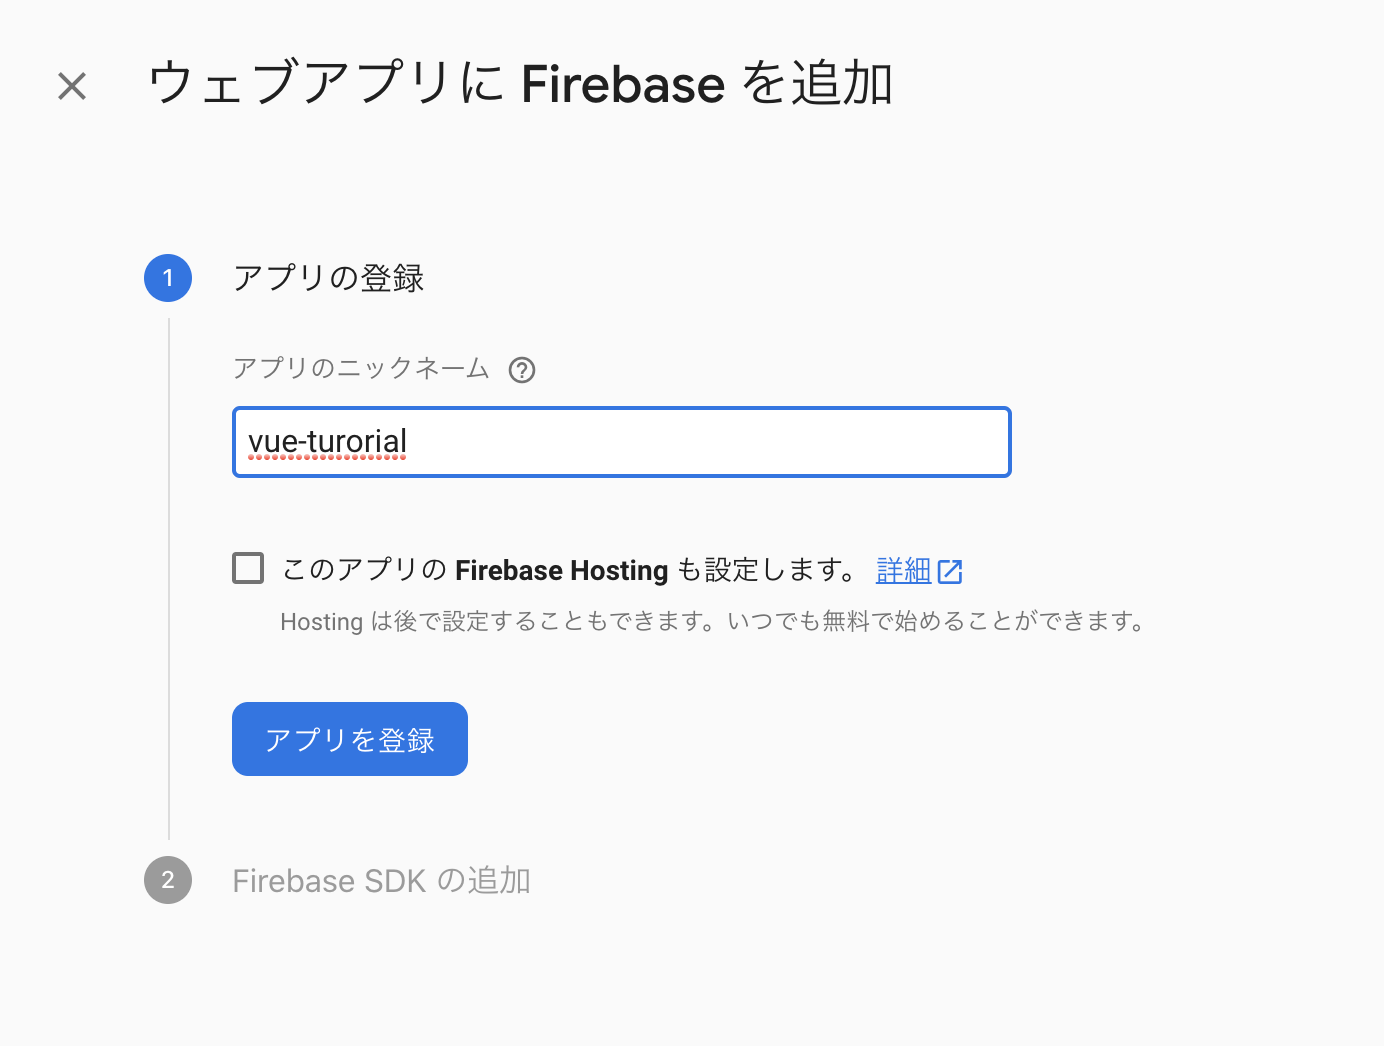
「Webアプリを追加」的なボタンを押す。
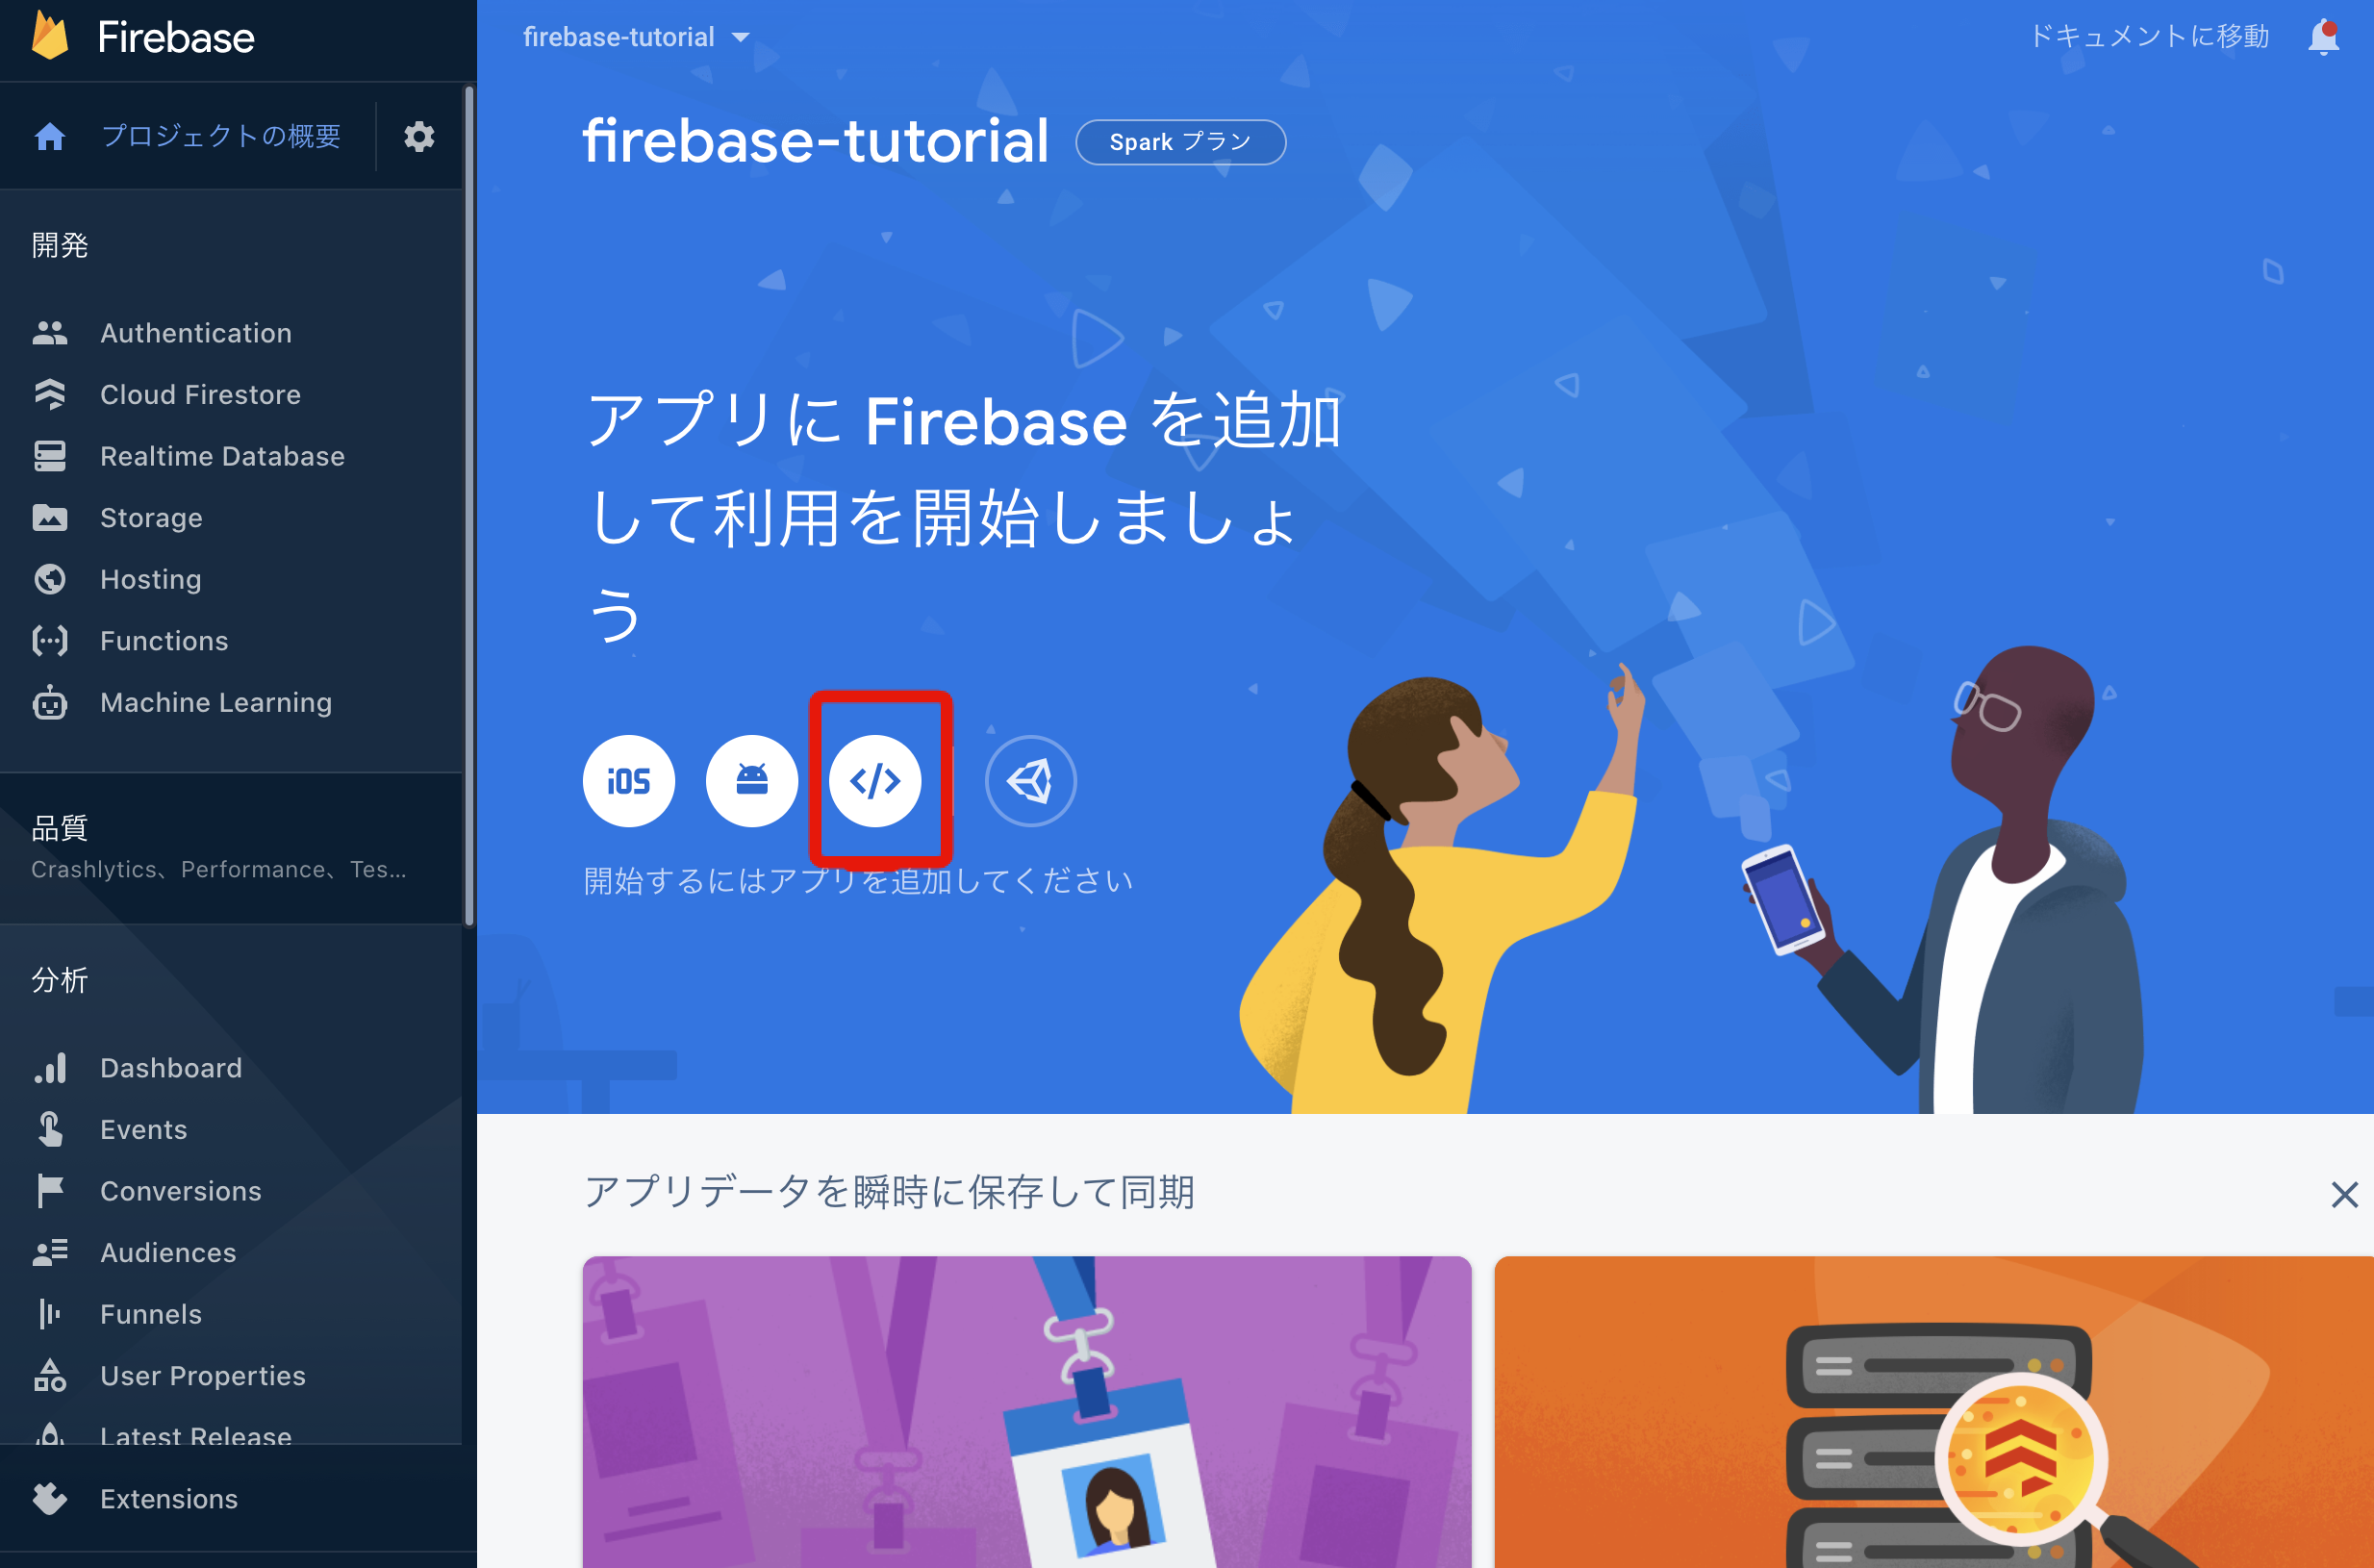
アプリ名はなんでもOK。
Hostingの設定はチェックはずしちゃってOK。
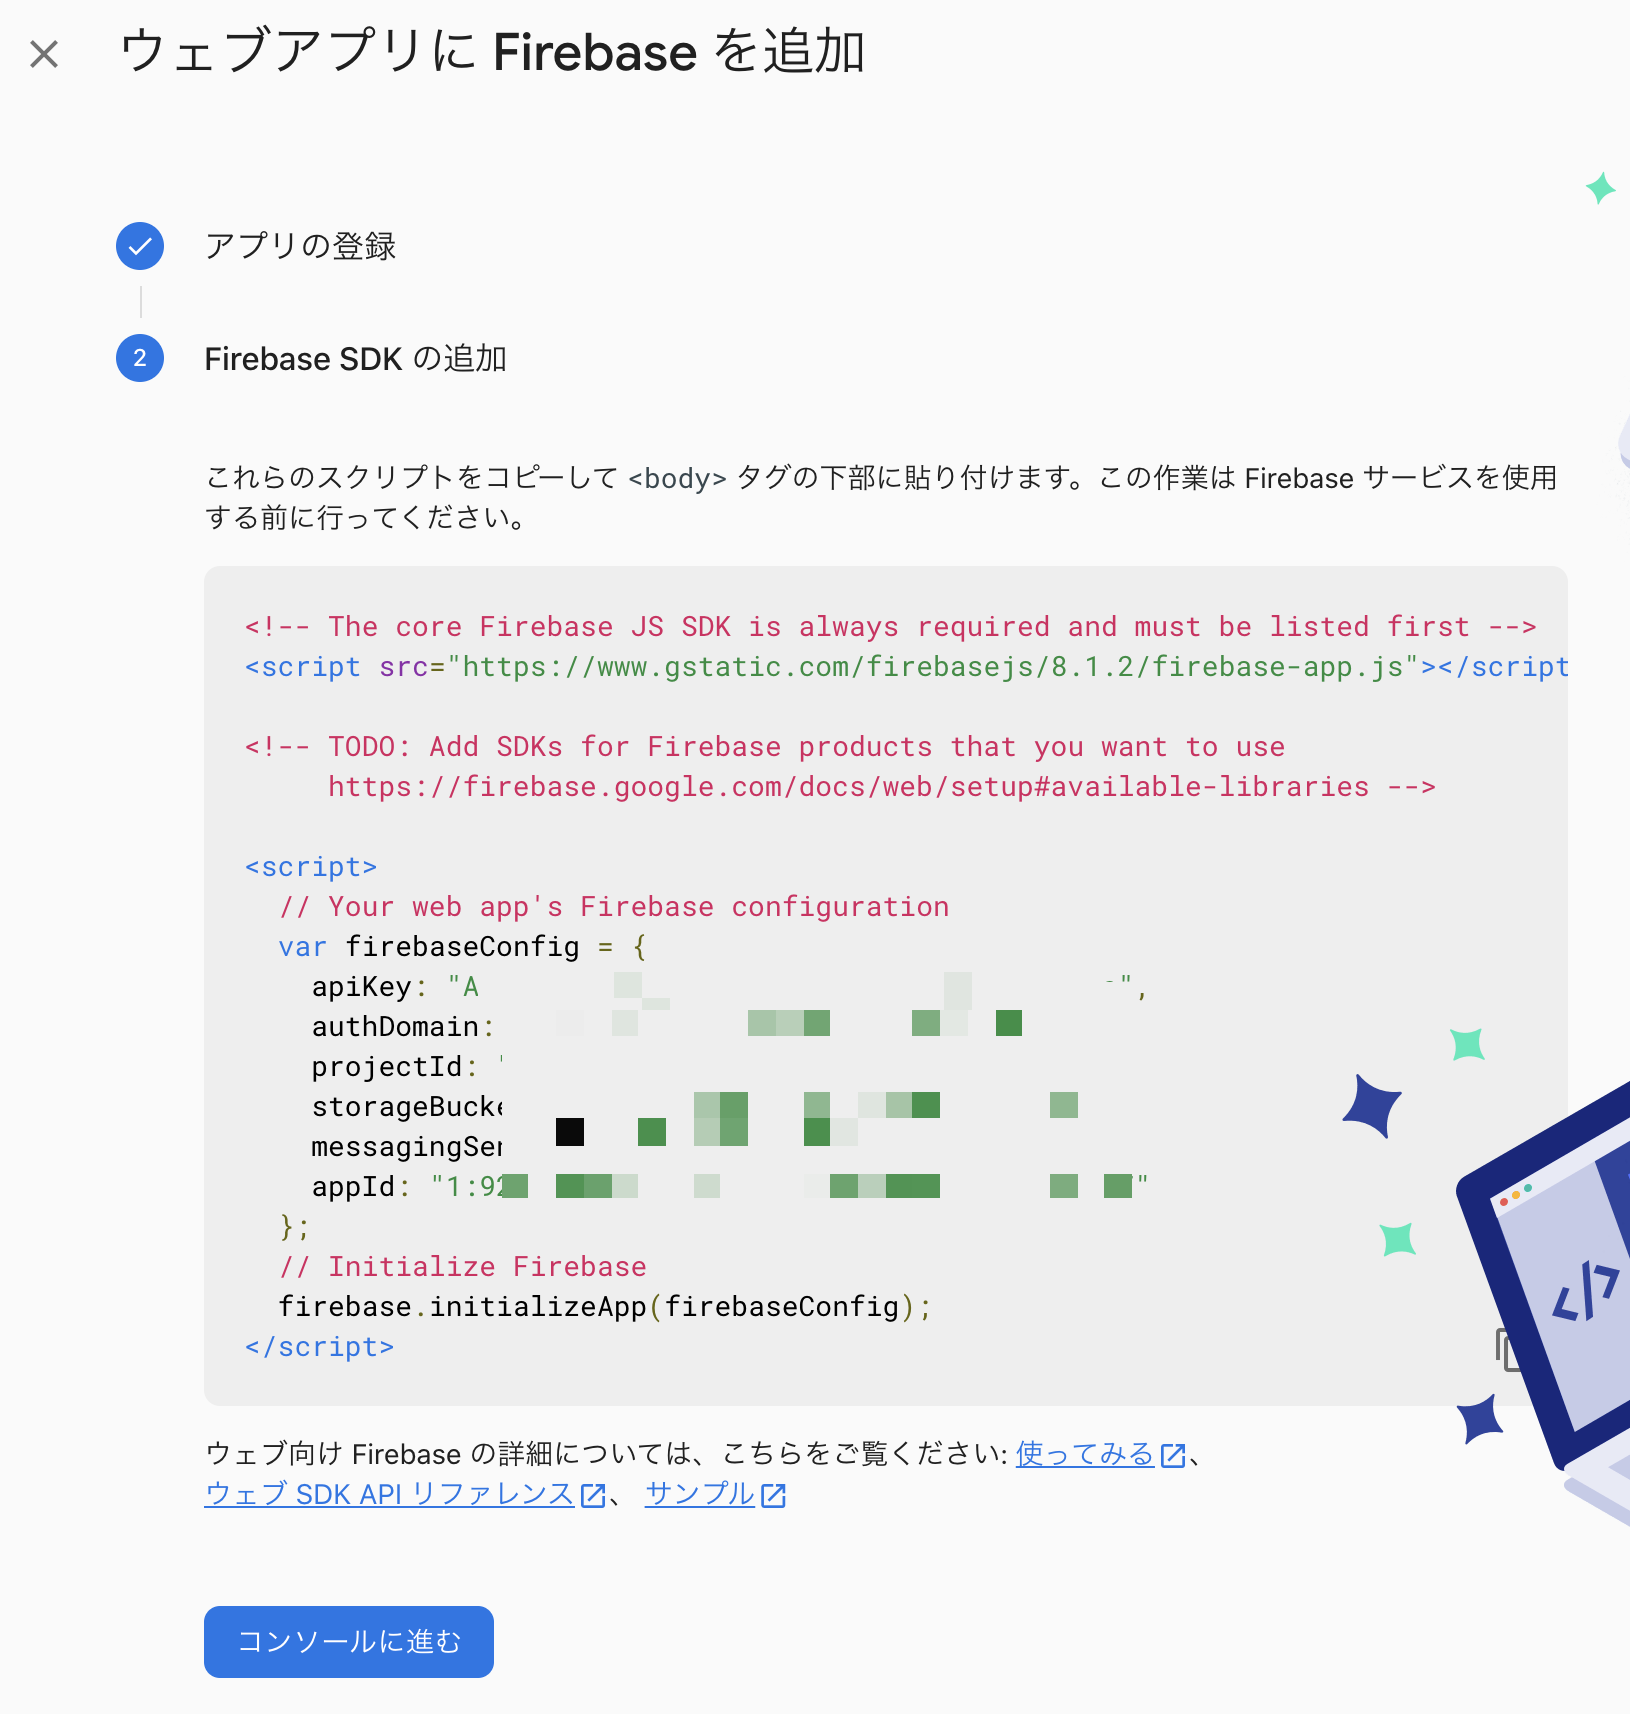
この情報をまるっとどこかにメモっておく。
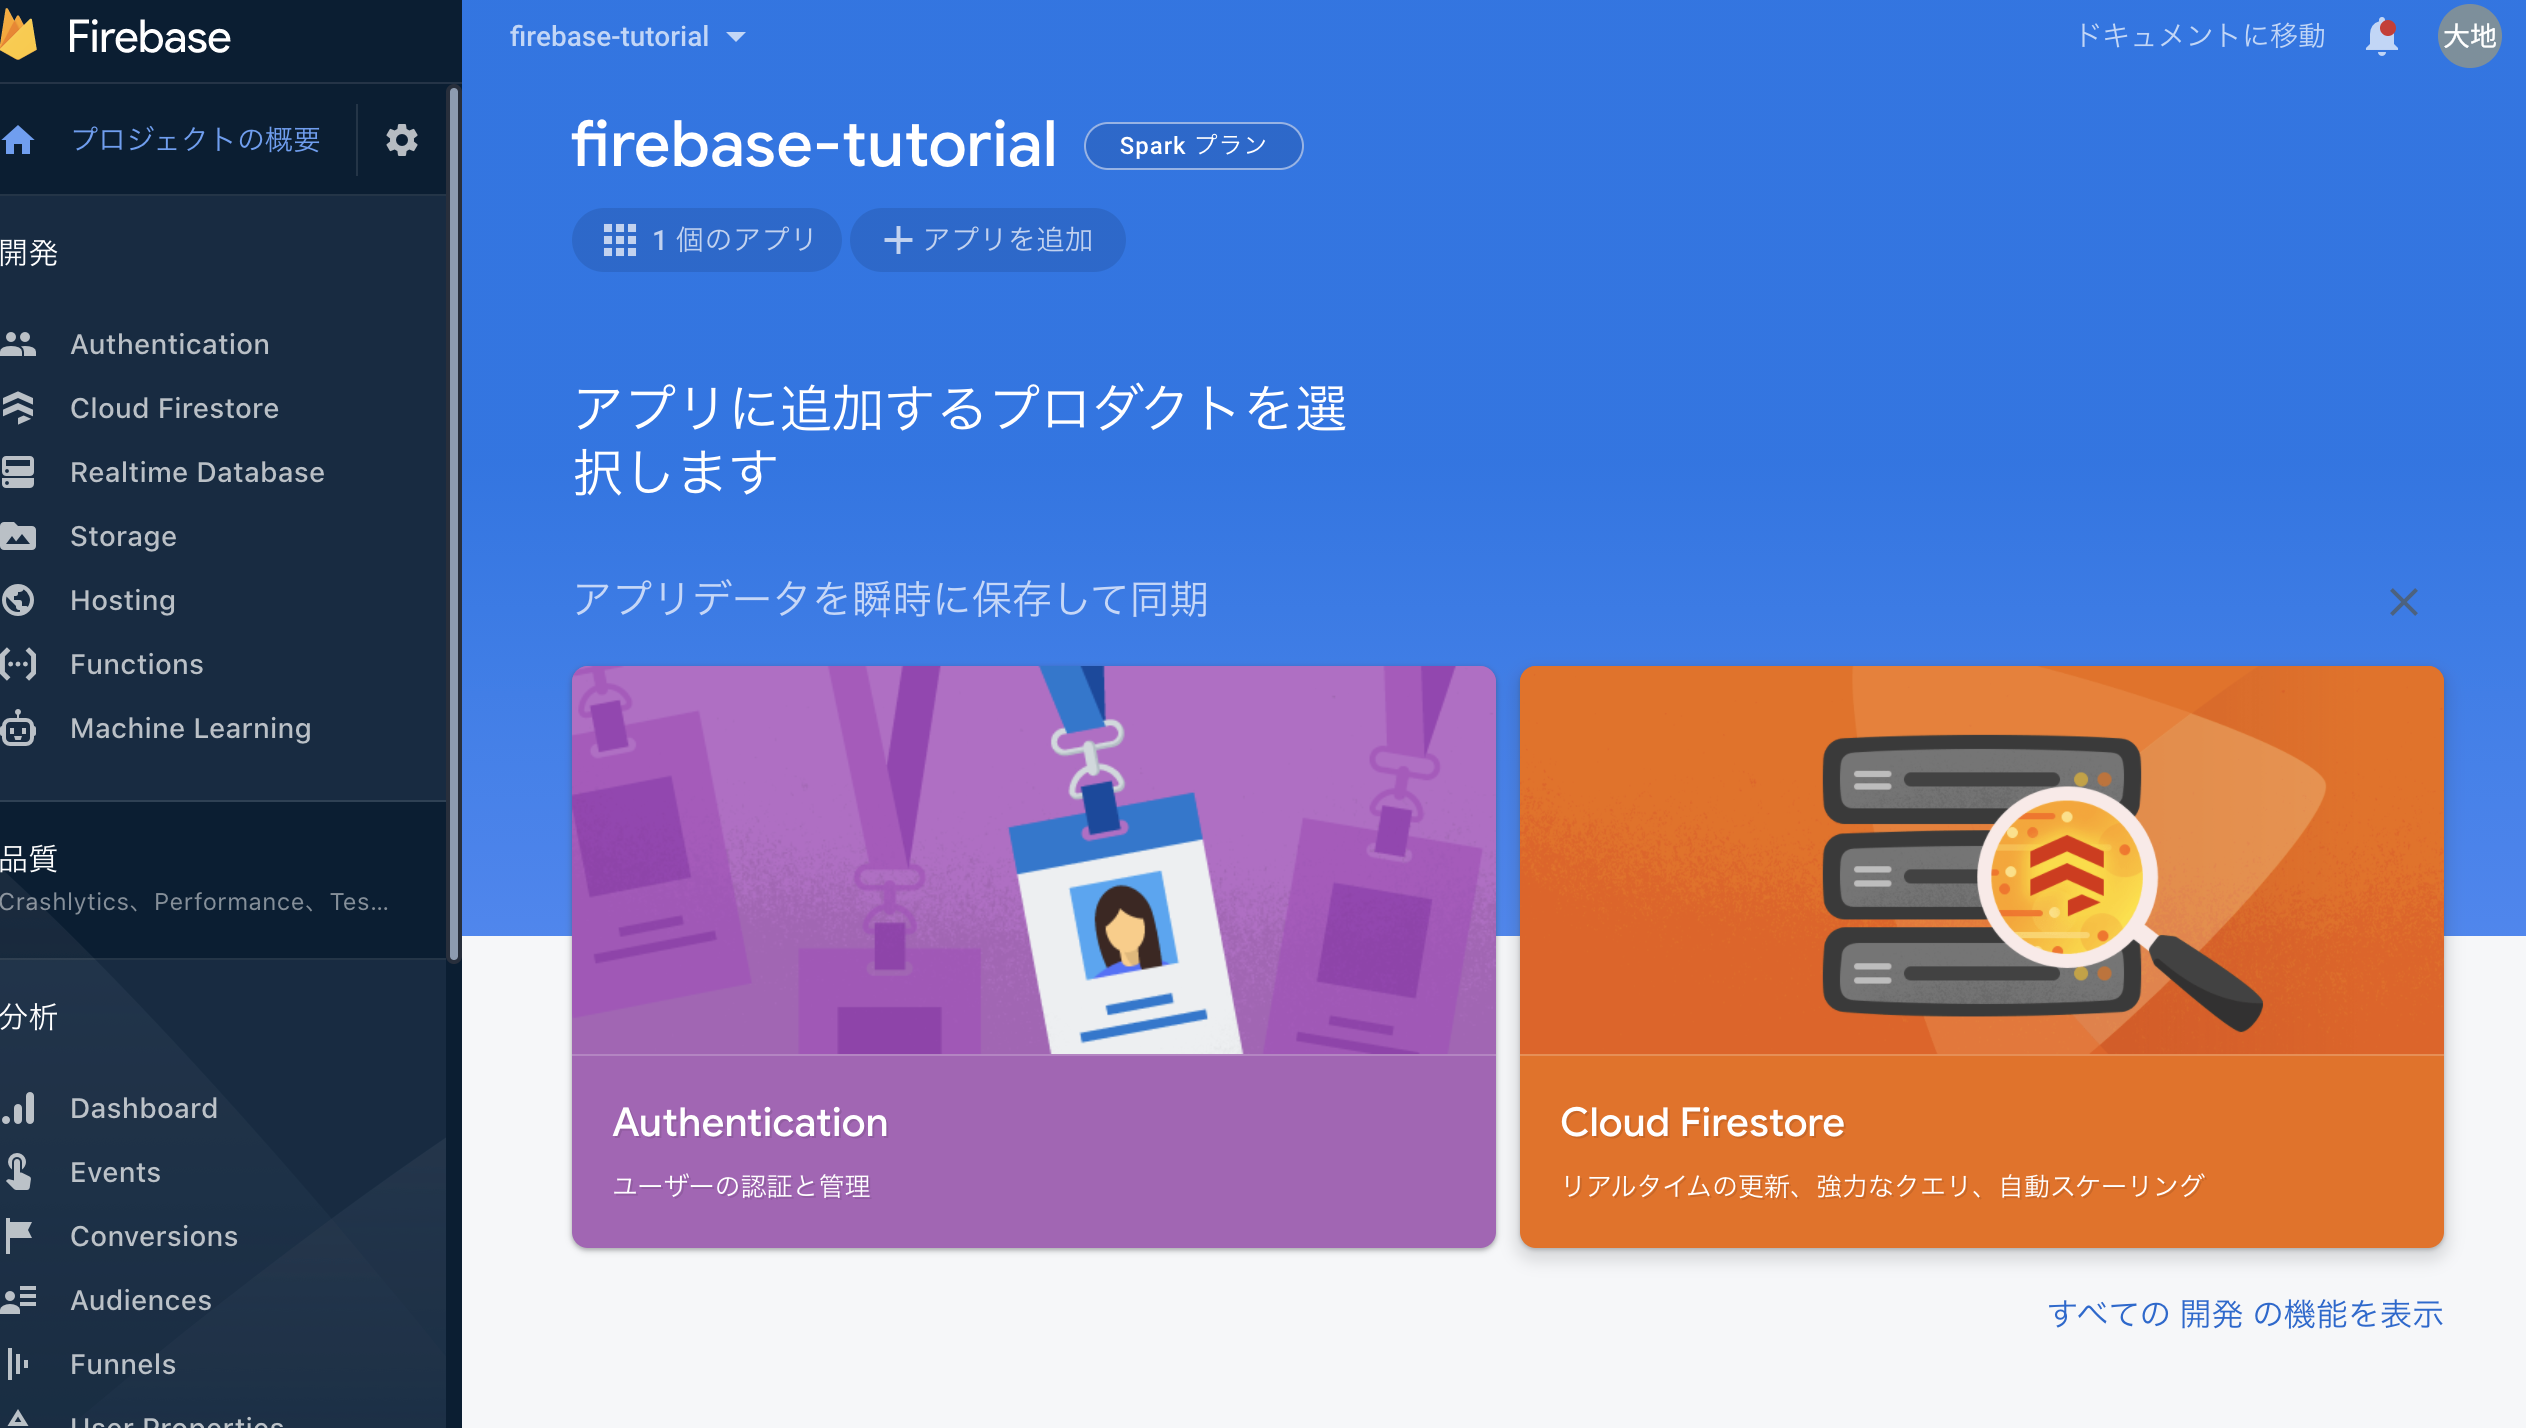
次にFirestoreを使う準備をする。
CloudFirestoreのメニューにいって、「データベースの作成」を押す。
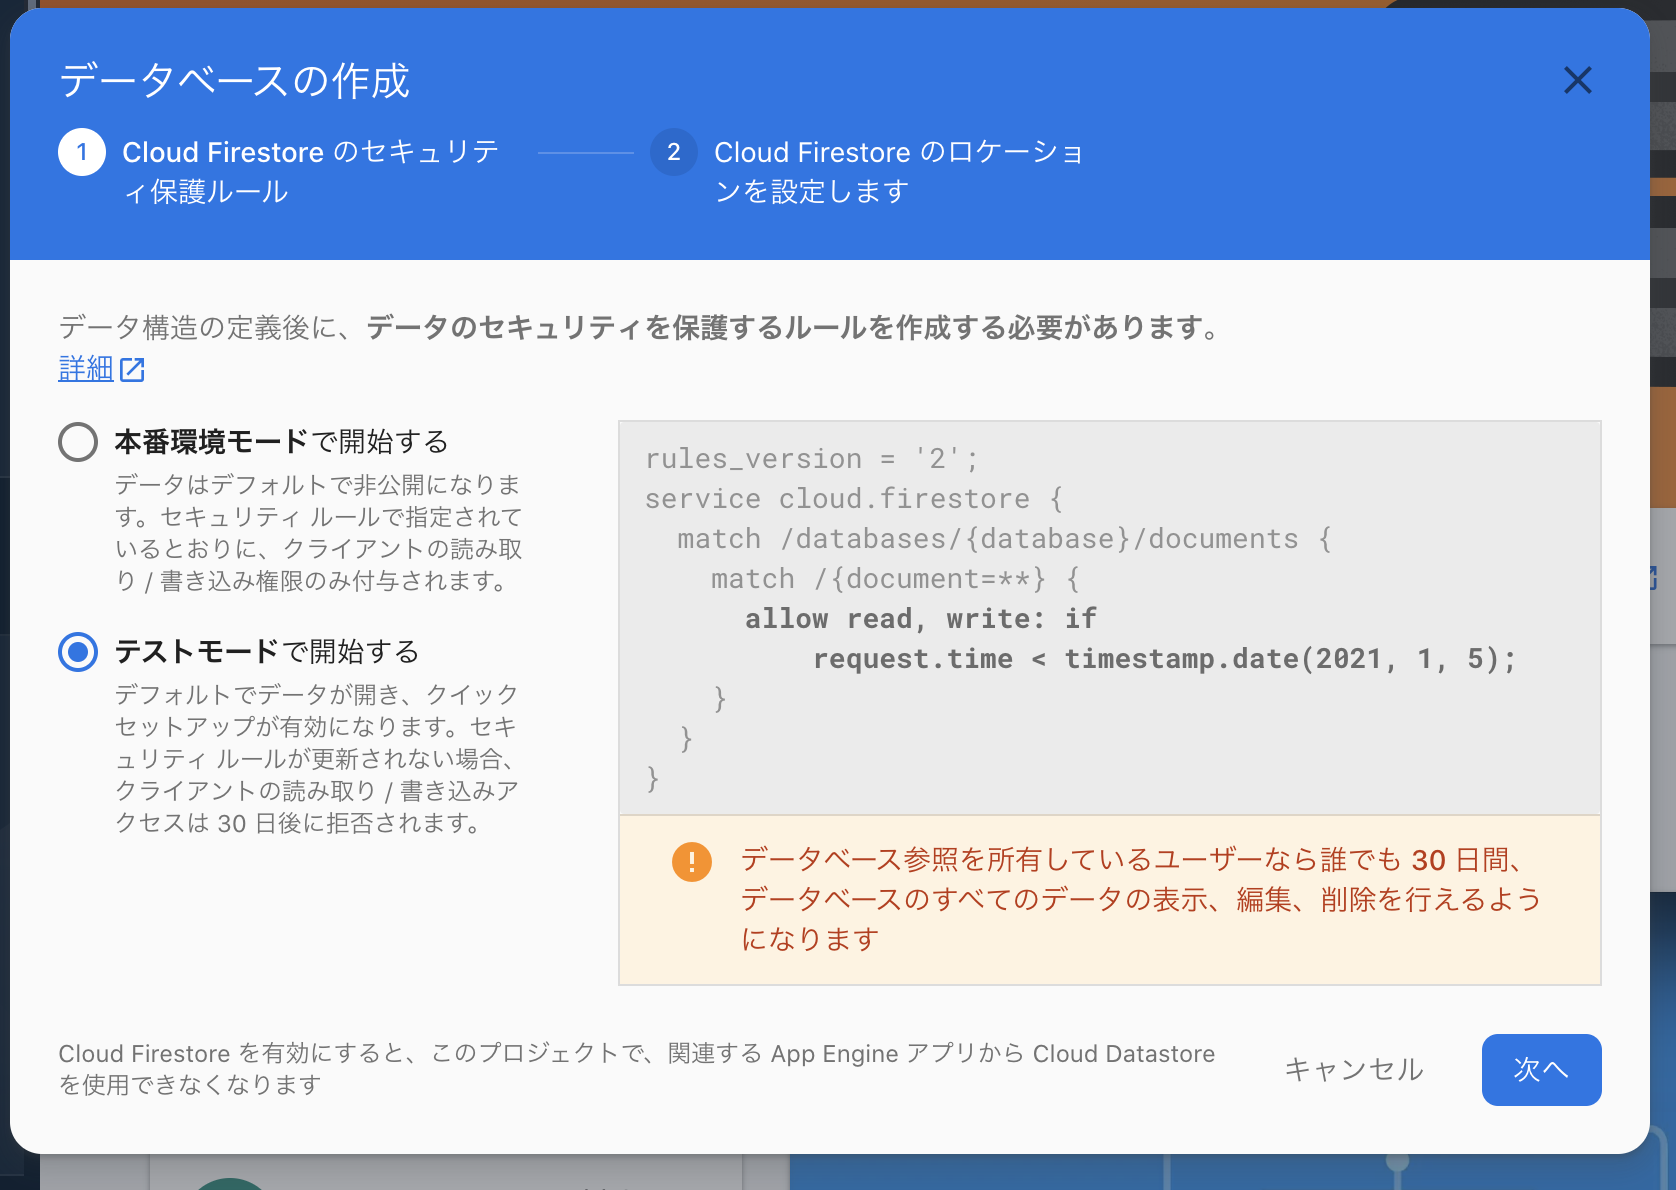
「テストモードで開始する」にチェックを入れて次へ。
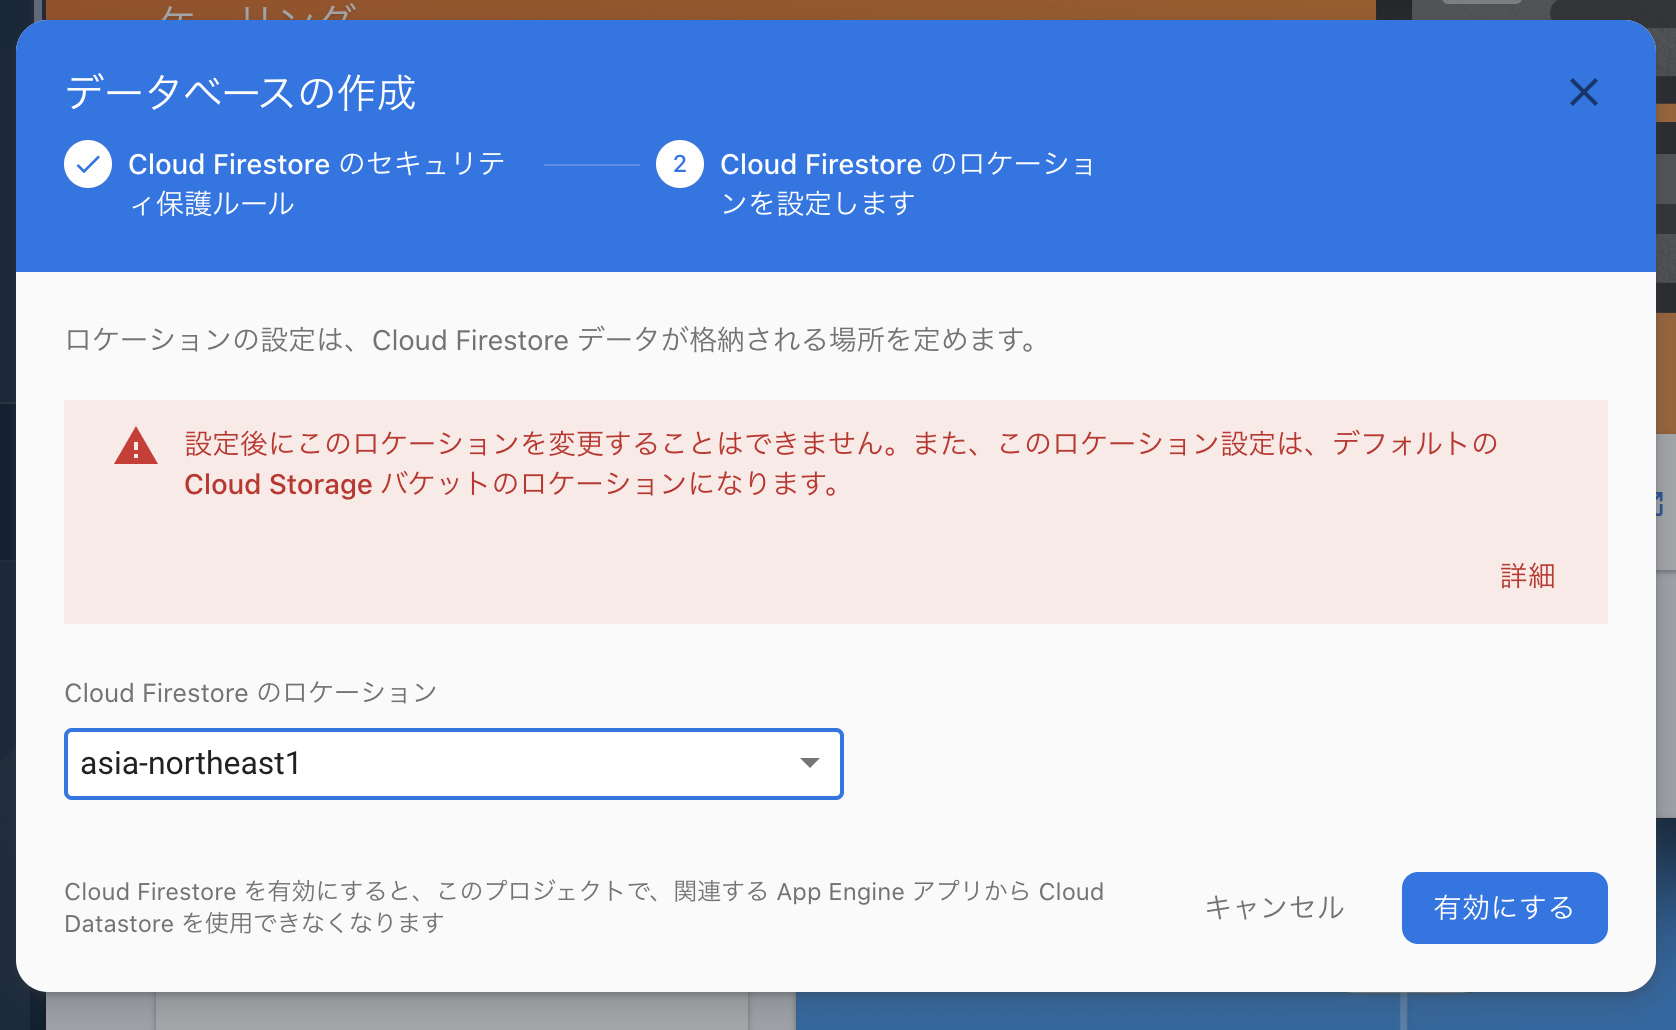
みなさん日本にお住まいだと思うので「asia-northeast1」にしておきましょう。
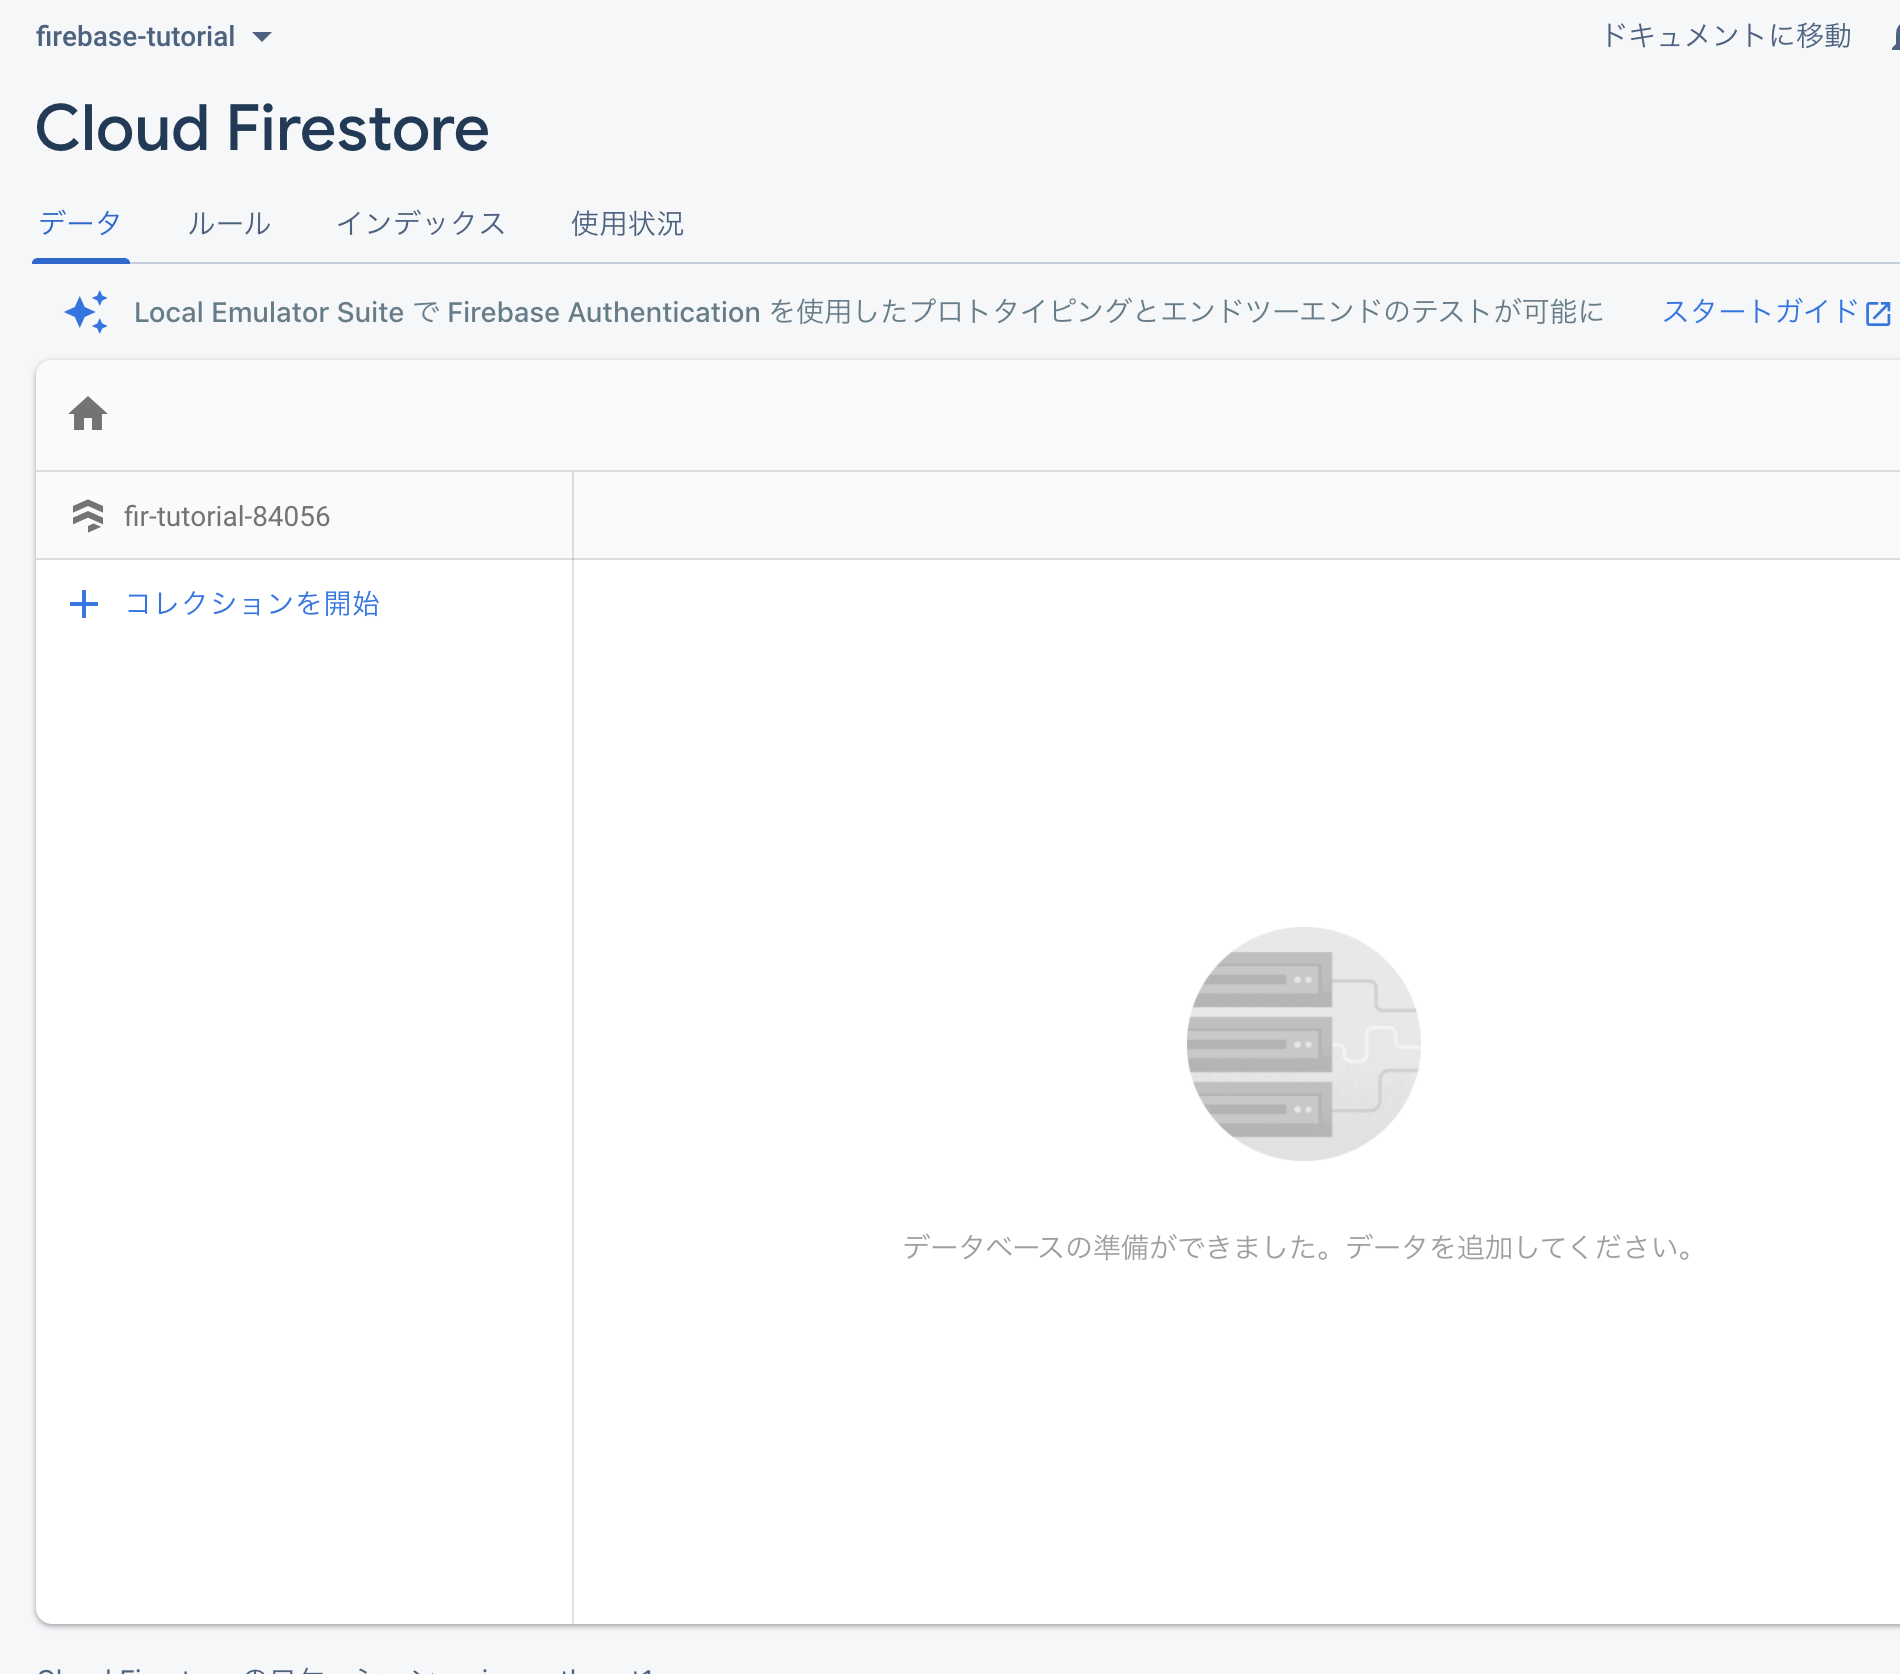
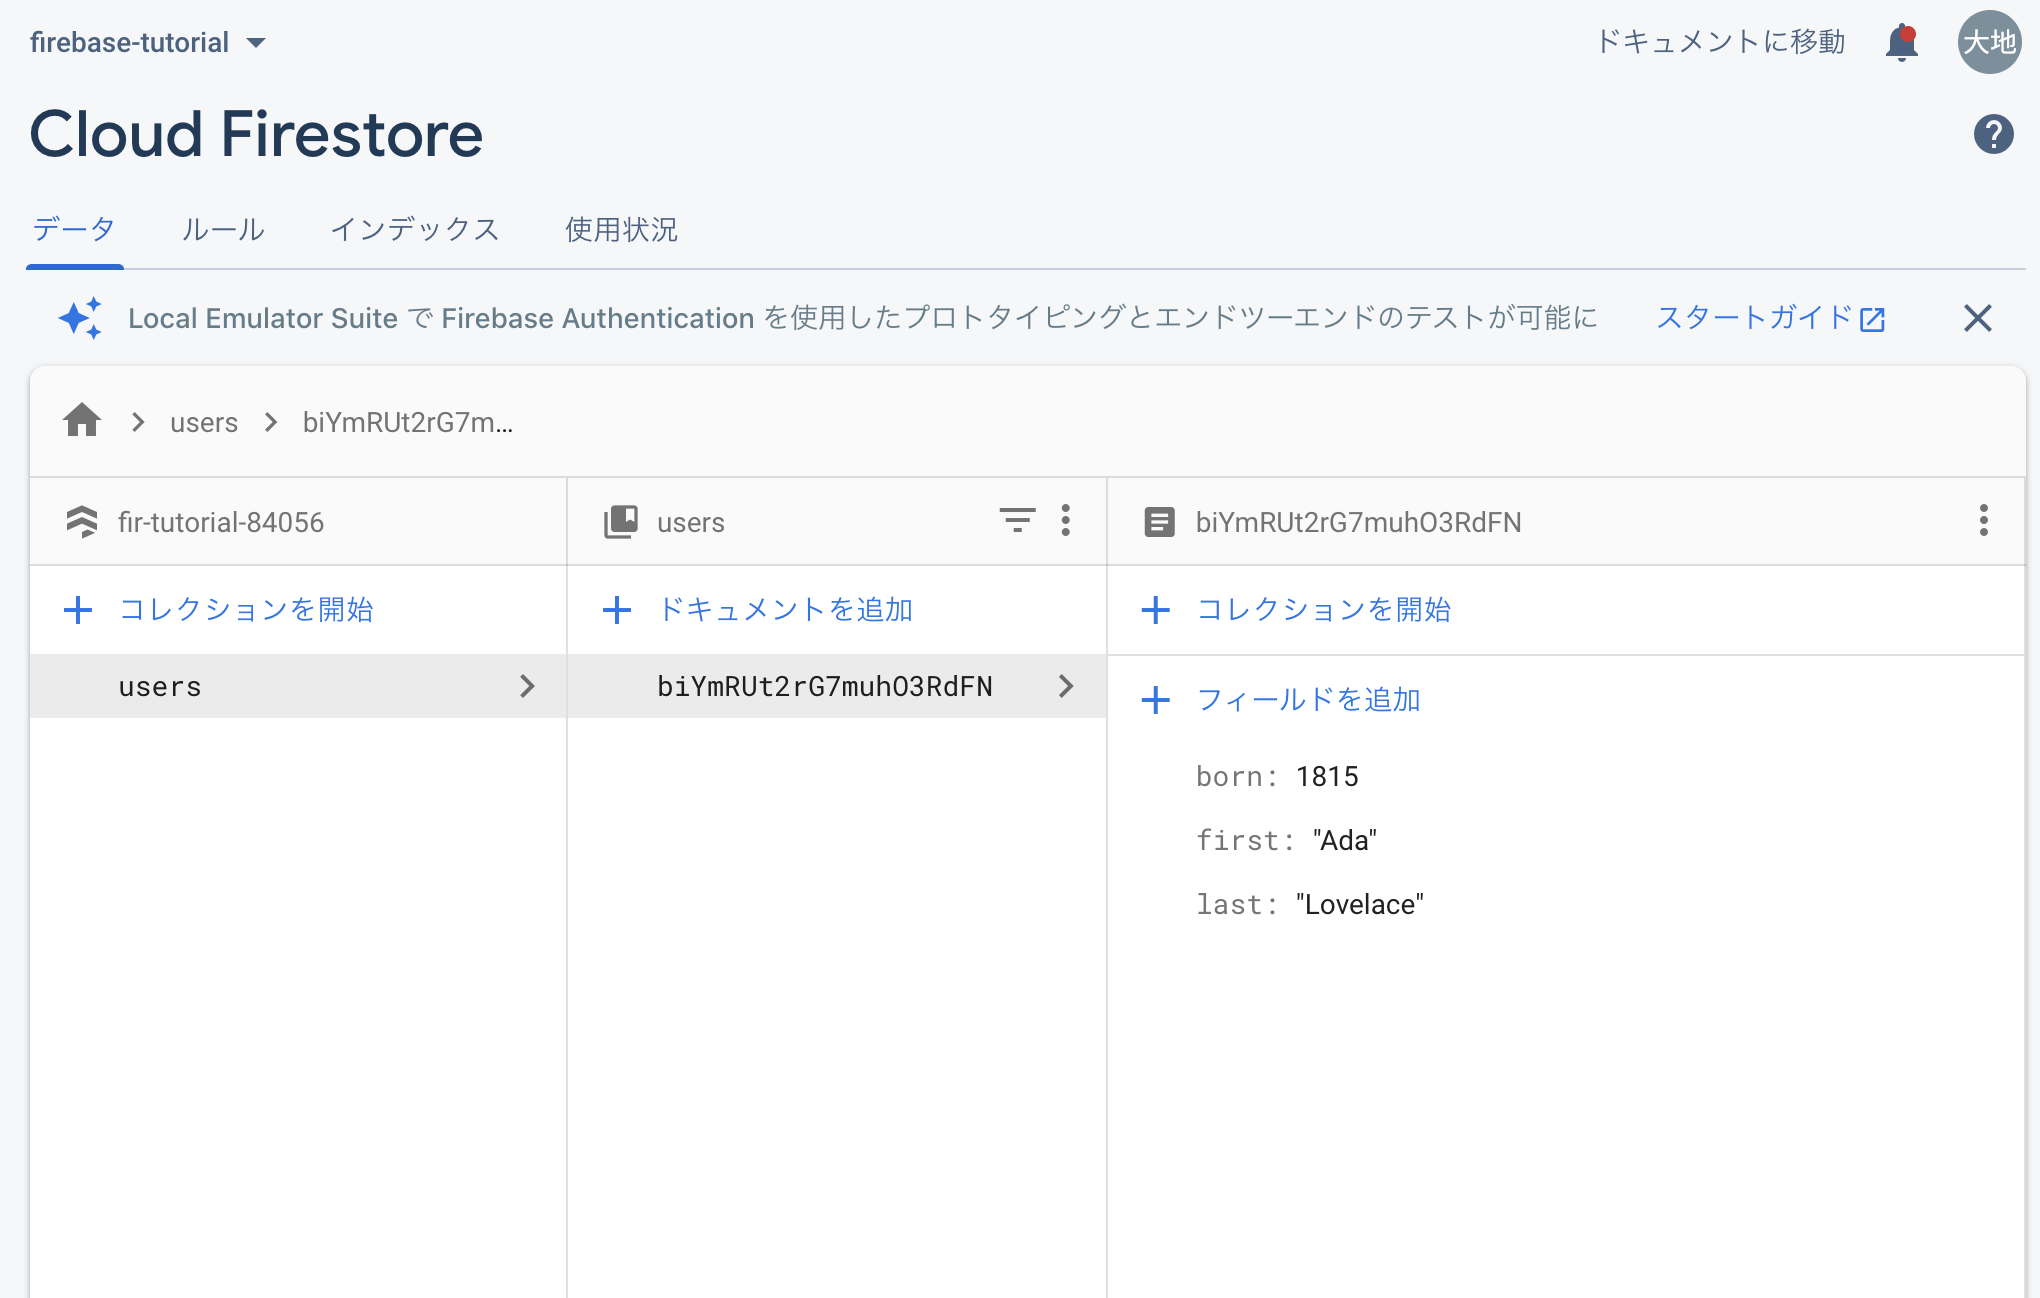
こんな感じでFirestoreの画面が。
Firestoreはとは?これを見ましょう。
https://firebase.google.com/docs/firestore?hl=ja
この絵が全て。

コレクション
∟ドキュメント
∟データ(email, name, age etc)
テーブルとレコードとカラムの関係に似てる(実態はまったく別物)
Vueの前に超絶単純なHTMLでFirebaseを触ってみる
<html>
  <head>
    <title>FirebaseTutorial</title>
  </head>
  <body>
    <script src="https://www.gstatic.com/firebasejs/8.1.2/firebase-app.js"></script>

    <!-- Firestore使うにはこれ追加しときましょう -->
    <script src="https://www.gstatic.com/firebasejs/8.1.2/firebase-firestore.js"></script>
    <script>
      // Your web app's Firebase configuration
      var firebaseConfig = {
        apiKey: "xxxxxxxxxxxxxxxx",
        authDomain: "xxxxxxxxxxxxxxxx",
        projectId: "xxxxxxxxxxxxxxxx",
        storageBucket: "xxxxxxxxxxxxxxxx",
        messagingSenderId: "xxxxxxxxxxxxxxxx",
        appId: "xxxxxxxxxxxxxxxx"
      };
      // Initialize Firebase
      firebase.initializeApp(firebaseConfig);
    </script>

    <div>
      <button id="submit">送信</button>
    </div>

    <script>
      document.addEventListener('DOMContentLoaded', () => {
        const db = firebase.firestore();
        const submitElement = document.querySelector("#submit")

        submitElement.addEventListener('click', () => {
          db.collection("users").add({
              first: "Ada",
              last: "Lovelace",
              born: 1815
          })
          .then(function(docRef) {
              console.log("Document written with ID: ", docRef.id);
          })
          .catch(function(error) {
              console.error("Error adding document: ", error);
          });
        })

      })
    </script>
  </body>
</html>
こんな画面になるはず。ボタンしかない。
送信ボタンを押すと...

Firestoreの方リロードしてみると、データが登録されてる。
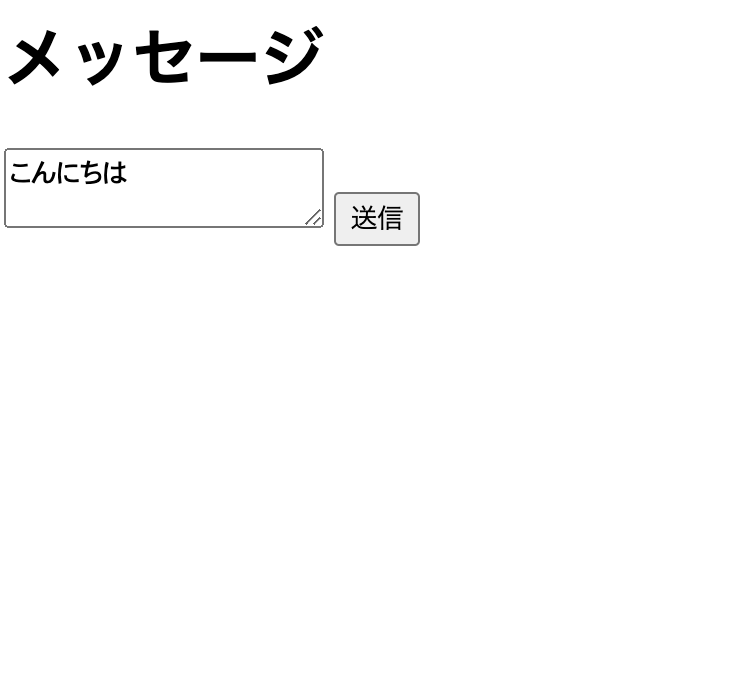
ちょっと改変してみましょう。
自分でメッセージを入力できるようにしたい。
JSがちょっとわかる人ならわかるはず。
下に答えが載っちゃってますが、見るか見ないかはあなた次第です
<html>
  <head>
    <title>FirebaseTutorial</title>
  </head>
  <body>
    <!-- The core Firebase JS SDK is always required and must be listed first -->
    <script src="https://www.gstatic.com/firebasejs/8.1.2/firebase-app.js"></script>

    <!-- TODO: Add SDKs for Firebase products that you want to use
         https://firebase.google.com/docs/web/setup#available-libraries -->
    <script src="https://www.gstatic.com/firebasejs/8.1.2/firebase-firestore.js"></script>
    <script>
      // Your web app's Firebase configuration
      var firebaseConfig = {
        apiKey: "xxxxxxxxxxxxxxxx",
        authDomain: "xxxxxxxxxxxxxxxx",
        projectId: "xxxxxxxxxxxxxxxx",
        storageBucket: "xxxxxxxxxxxxxxxx",
        messagingSenderId: "xxxxxxxxxxxxxxxx",
        appId: "xxxxxxxxxxxxxxxx"
      };
      // Initialize Firebase
      firebase.initializeApp(firebaseConfig);
    </script>

    <div>
      <h1>メッセージ</h1>
      <textarea id="textarea"></textarea>
      <button id="submit">送信</button>
    </div>

    <script>
      document.addEventListener('DOMContentLoaded', () => {
        const db = firebase.firestore();
        const textareaElement = document.querySelector("#textarea")
        const submitElement = document.querySelector("#submit")

        submitElement.addEventListener('click', () => {
          db.collection("messages").add({
              body: textareaElement.value,
          })
          .then(function(docRef) {
              console.log("Document written with ID: ", docRef.id);
          })
          .catch(function(error) {
              console.error("Error adding document: ", error);
          });
        })
      })
    </script>
  </body>
</html>
送信ボタンを押すと...
スクショ撮り忘れました...
ここまでで投稿はできた。
今度は取得。
【参考】
データを読み取る
https://firebase.google.com/docs/firestore/quickstart?hl=ja#read_data
→ 単純に取得する場合はこちらを使えばOK
リアルタイムアップデート
https://firebase.google.com/docs/firestore/query-data/listen?hl=ja
→ LINEとかSlackみたいにリアルタイムにデータを取得したい場合はこっちを使う。
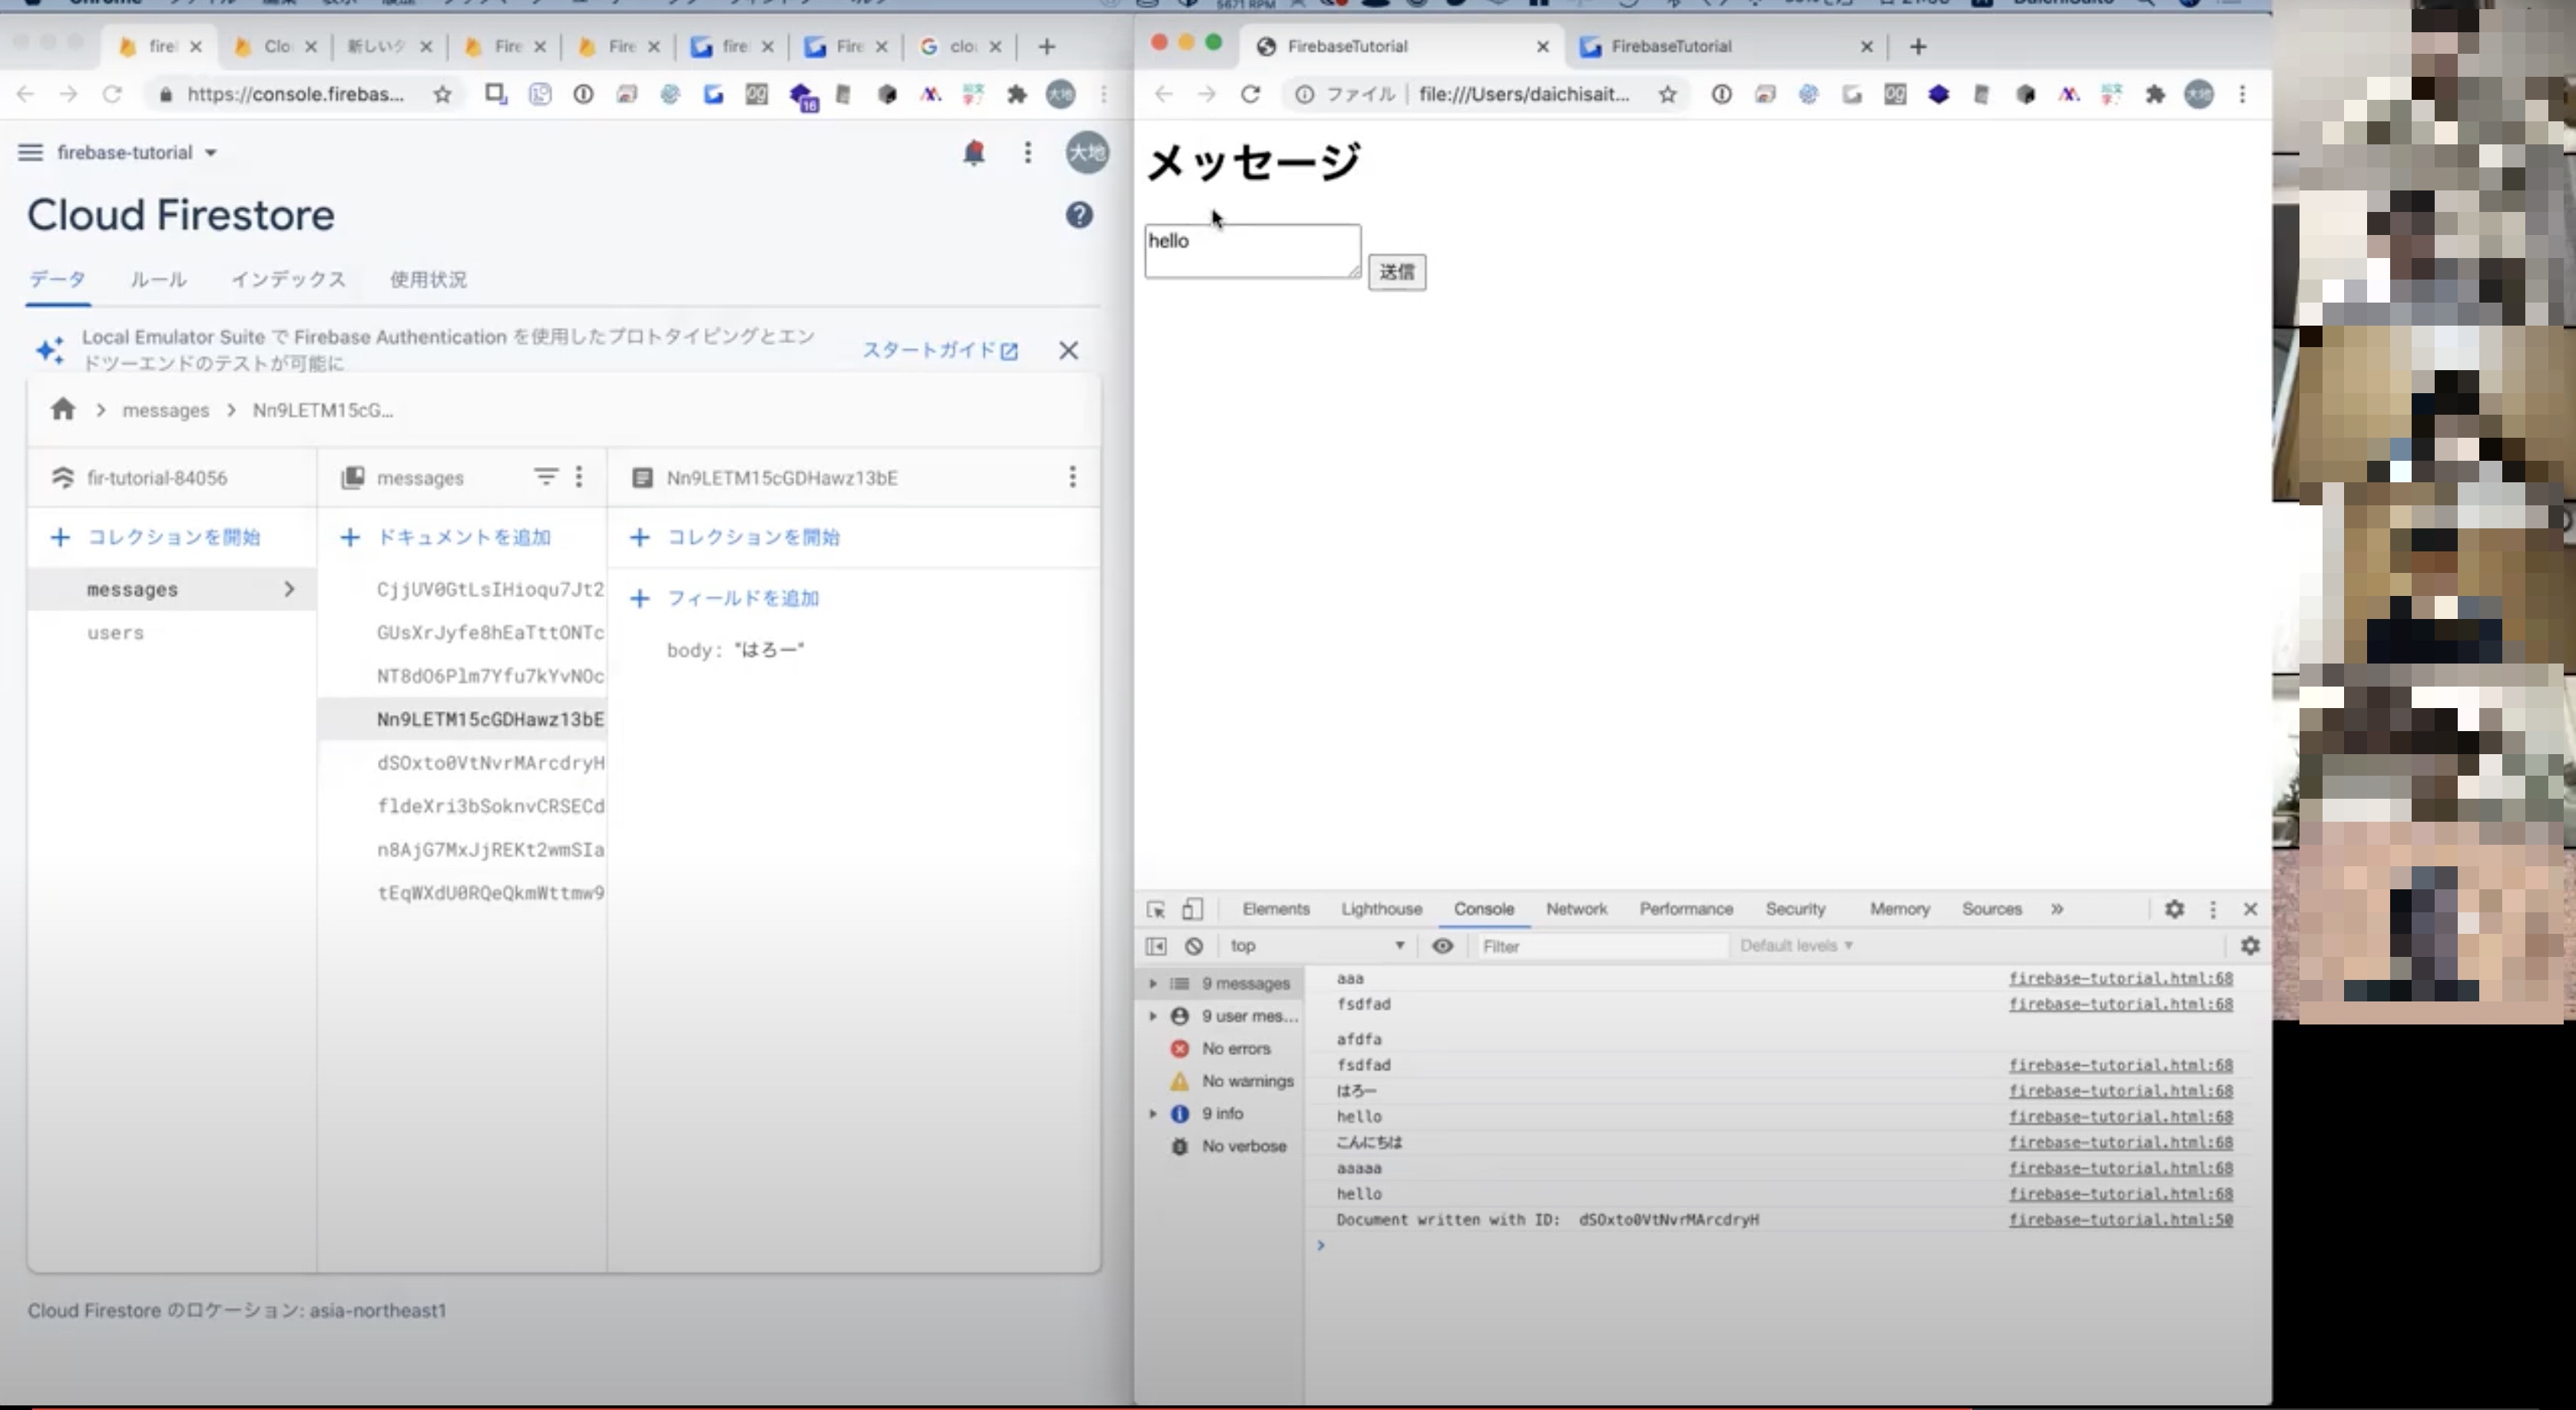
いきなりリアルタイムアップデートを体験してみましょう。
<html>
  <head>
    <title>FirebaseTutorial</title>
  </head>
  <body>
    <!-- The core Firebase JS SDK is always required and must be listed first -->
    <script src="https://www.gstatic.com/firebasejs/8.1.2/firebase-app.js"></script>

    <!-- TODO: Add SDKs for Firebase products that you want to use
         https://firebase.google.com/docs/web/setup#available-libraries -->
    <script src="https://www.gstatic.com/firebasejs/8.1.2/firebase-firestore.js"></script>
    <script>
      // Your web app's Firebase configuration
      var firebaseConfig = {
        apiKey: "AIzaSyB-R3zyE0xWuTJi64P-xjXfUBiSRlNk7Qc",
        authDomain: "fir-tutorial-84056.firebaseapp.com",
        projectId: "fir-tutorial-84056",
        storageBucket: "fir-tutorial-84056.appspot.com",
        messagingSenderId: "924761264854",
        appId: "1:924761264854:web:33f374bc1ae12db1a1ef77"
      };
      // Initialize Firebase
      firebase.initializeApp(firebaseConfig);
    </script>

    <div>
      <h1>メッセージ</h1>
      <div id="messages">

      </div>
      <textarea id="textarea"></textarea>
      <button id="submit">送信</button>
    </div>

    <script>
      document.addEventListener('DOMContentLoaded', () => {
        const db = firebase.firestore();
        const messagesElement = document.querySelector("#messages")
        const textareaElement = document.querySelector("#textarea")
        const submitElement = document.querySelector("#submit")

        submitElement.addEventListener('click', () => {

          db.collection("messages").add({
              body: textareaElement.value,
          })
          .then(function(docRef) {
              console.log("Document written with ID: ", docRef.id);
          })
          .catch(function(error) {
              console.error("Error adding document: ", error);
          });
        })

        db.collection("messages")
        .onSnapshot(function(querySnapshot) {
            messagesElement.innerHTML = ''
            var messages = [];
            querySnapshot.forEach(function(doc) {
                console.log(doc.data().body)
                messages.push(doc.data().body)
            });
            messagesElement.append(messages)
        });
      })
    </script>
  </body>
</html>
Firease Hostingでデプロイ
Netlifyでデプロイ
Netlifyにサインアップしてください。
Siteタブを開きます。
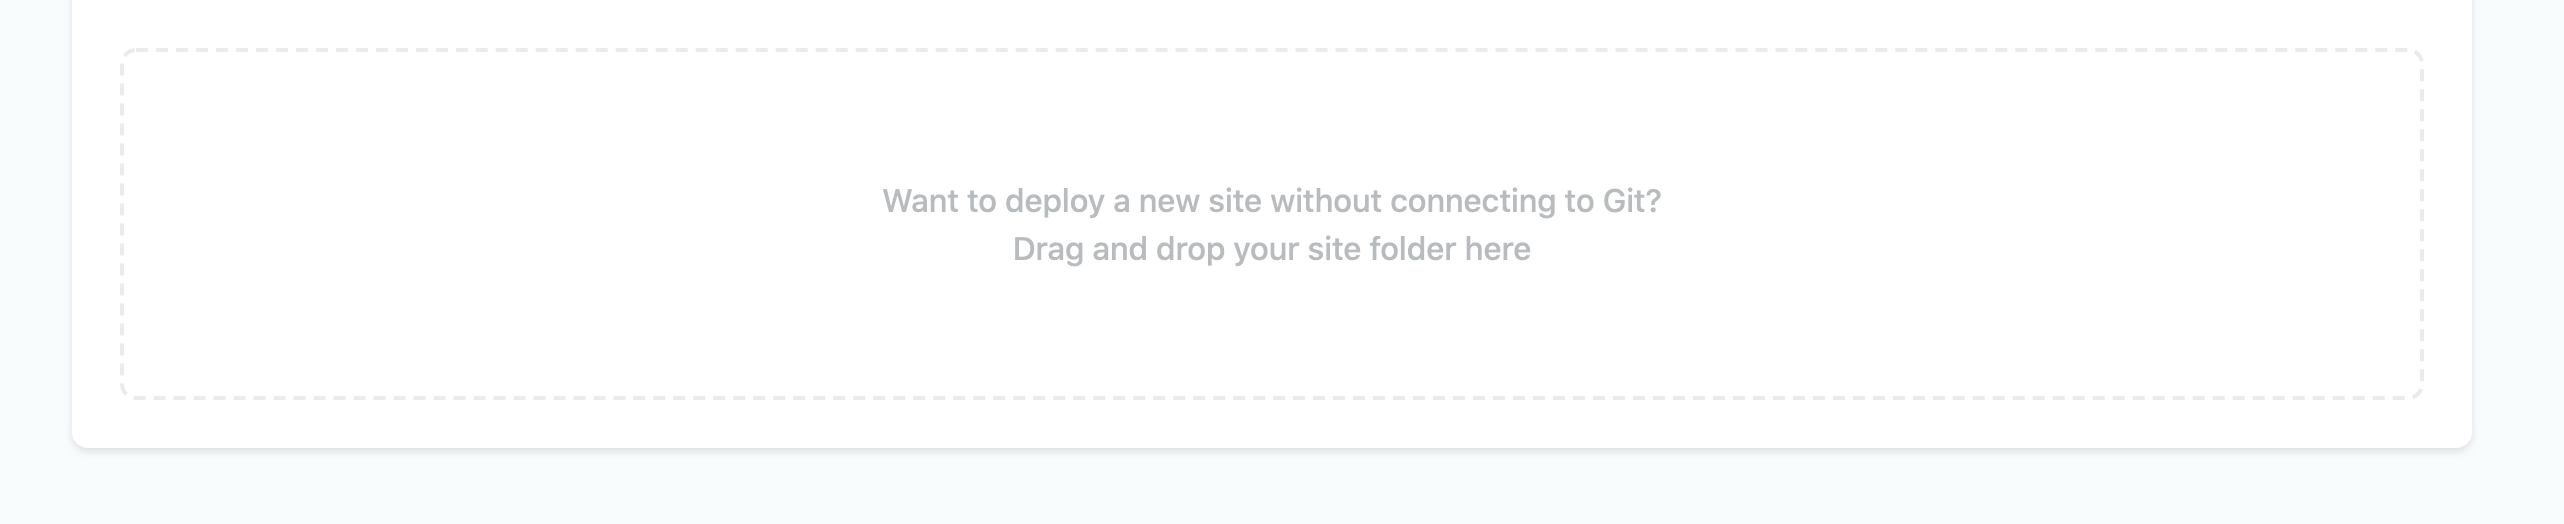
さっき作ったファイルの名前をindex.htmlに変更しておく。
ここにindex.htmlが入ったディレクトリをドラッグ&ドロップする。
時間が余ったらVue
公式ドキュメント
https://jp.vuejs.org/v2/guide/index.html
とりあえず新しくindex.html作って以下を貼り付けてブラウザで表示してみる。
<html>
  <head>
    <script src="https://cdn.jsdelivr.net/npm/vue@2.6.12/dist/vue.js"></script>
  </head>
  <body>

    <div id="app">
      <div v-for="message in messages">
        <div>{{message.id}} {{message.body}}</div>
      </div>
      <textarea v-model="newMessage"></textarea>
      <button @click="sendMessage">送信</button>
    </div>

    <script>
      new Vue({
          el: "#app",
          data() {
            return {
              messages: [
                { id: 1, body: "あああ" },
                { id: 2, body: "いいい" },
                { id: 3, body: "ううう" },
              ],
              newMessage: ""
            }
          },
          methods: {
            sendMessage() {
              alert(this.newMessage)
            }
          }
        })
    </script>
  </body>
</html>
こんな感じになるはず。
大事なところ
- Vueを使えるようにするためにCDNで読み込む
- new Vueとは
- elとは
- dataとは
- methodsとは
- v-modelとは
- @clickとは
こんな感じで毎週勉強会をやってます。
スパルタコースはサポートの質が落ちないように少数のコミュニティとして活動しています。
実際に未経験からRailsの業務委託で仕事をしている人もいるくらいなのでちゃんと学習すればスキルはつきます。
普段はSlackでやりとりしてますのでリンクを貼っておきますね。
Slackコミュニティへの招待リンク
ではでは。